The Cushion Saga
June 2021 Update
The months of May and June 2021 saw a massive amount of work done to 1130 to further prepare it for its new life starting soon. Early on in May, I decided to begin upgrading 1130’s interior from being merely “cosmetically complete” to being fully CVIP-compliant for the future. To do this, I had to drill a myriad of new holes in various interior components so that I could put in all missing required fasteners for structural integrity of the seats and stanchions/rails. I also plan to eventually replace the plastic triangle brackets with proper steel ones (either original or makeshift), as well as make up a solution for the missing slanted leg mount for the passenger side bench in the rear of the bus. I hope to get all of this done by the end of the summer so I can then focus on a getting a full mechanical restoration done on the bus once I have the funds.
Aside from that, probably my biggest project during this time was figuring out the issue with the still-missing seat bottom cushions for the side facing benches in the rear of the bus. After I had exhausted all my options for scavenging these cushions from numerous donor buses as well as from Calgary Transit themselves, all with no luck, my only option that remained was to build the cushions from scratch myself.
Thankfully it ended up being easier than I expected and my dad offered to help me out with this. After taking many measurements from inside the bus for the length/width of the seat frames as well as the position of the wheel well, we cut the plywood boards for the cushions down to size and drilled the air holes like the originals had. The shorter cushions were easy to make, however the challenging part was the wheel well cutout on the underside of the longer pieces. The original cushions had a curved metal sheet inside this cutout, though for ours we used a piece of corrugated plastic instead, along with a bent stick of wood riveted to the rest of the board that the upholsterers could staple the fabric onto. Once complete, I took all the plywood boards into an upholstery shop for them to put on the foam and vinyl.
I also decided to rebuild the short section of seat back cushion from the passenger side bench, which my friends and I had scavenged from a donor bus last June (2020). The reason for this was that this one had sat outside for several years and the plywood back was severely deteriorated, and the cushion also had a large tear in the upholstery fabric. So I removed this one and took it home to trace and cut a new piece of plywood, and eventually took this to the upholstery shop as well.
After a long wait for these to get done (almost 2 months), and a cost of almost $900 for materials and labor, I picked them up from the upholstery shop and took them down to the bus. First I installed the new seatback in place using pieces of metal flatbar as makeshift brackets to fasten it to the frame. However, to my dismay, I realized at this point that the upholstery shop I used had upholstered the longer sections of seat bottom cushion backwards. This meant that the vinyl piping across the top of the cushion was on the front rather than on the back, and these cushions could only be placed in one orientation due to the wheel well cutout. So I will have to take these back for them to fix this. This thankfully did not apply to the shorter sections as they can be placed on the frame in any orientation.

The final cushions needed to bring 1130’s interior to full completion, loaded up and ready to take to the bus. The two older ones I had left at the shop as examples so I was taking these back too. Photo by Nick Blonski


The final seat bottoms, along with the replacement short section of seatback (seen in the first image), in place. The upholstery piping on the longer sections of seat bottom is incorrect and an error on the part of the upholstery shop. Photos by Nick Blonski
Another big project of mine was repairing the dislodged rear window of the bus which had been leaking water inside whenever it rained. My dad helped me out with this. Whatever had caused the window to come out of the frame had to have been a massive amount of force (likely involving the tailpipe coming into contact with something as a previous owner of the bus was driving it) as even the tailpipe was slightly bent making it difficult (although not impossible) to put the window back into its proper position. After hammering a warped section of the window frame back into its proper shape, my dad and I used various sharp-edged tools to realign the window gasket which helped most of the window settle back in place, except for the window frame around the tailpipe which took a little bit of force. Eventually the window was sealed again and I painted over a small amount of rust in the window frame area that had been warped.

1130’s rear window area after repairs completed. Previously there was about a three inch gap between the upper left corner of the window/tailpipe housing and the frame. Photo by Nick Blonski
Later on, in June, I took the bus for a quick spin around the block for the first time since October to make sure it still runs good and everything still works properly. For the most part that was the case, aside from one system giving me issues; The windshield washer yet again.
As I mentioned in my April update, I had installed a new control valve from an M939 truck to replace the broken original. As I pushed in the valve to operate the windshield washer, I heard a loud bang come from the reservoir followed by windshield fluid going all over the dashboard. When I parked the bus back at the storage lot I removed the reservoir and found that the pump had split in two at the seam. I took it home to put back together with Gorilla epoxy, however when I powered up the bus a few weeks later to test it once more, not only did the same thing happen again, but this time part of the reservoir cap along with the filler tube shattered as well. I am not sure if the issue here is the M939 valve sending too much air pressure into the pump or if I glued the pump back together insufficiently. Regardless, I decided to resort to my “Plan C” for the windshield washer which was to do away with the air-operated system altogether and retrofit an electric washer instead.
With some help from my dad, I fastened and wired a windshield washer reservoir and pump motor assembly from a Volkswagen Jetta in place of the original reservoir and threaded a wire to the driver’s area. There, I connected a ground button to operate the motor. I turned on the master switch and was pleased to see my new system working beautifully (despite the button being slightly finicky, requiring pressure towards the bottom rather than the centre/top).

1130 on a dirt road near the storage lot, as it is being taken on its first run in over 7 months. Photo by Nick Blonski
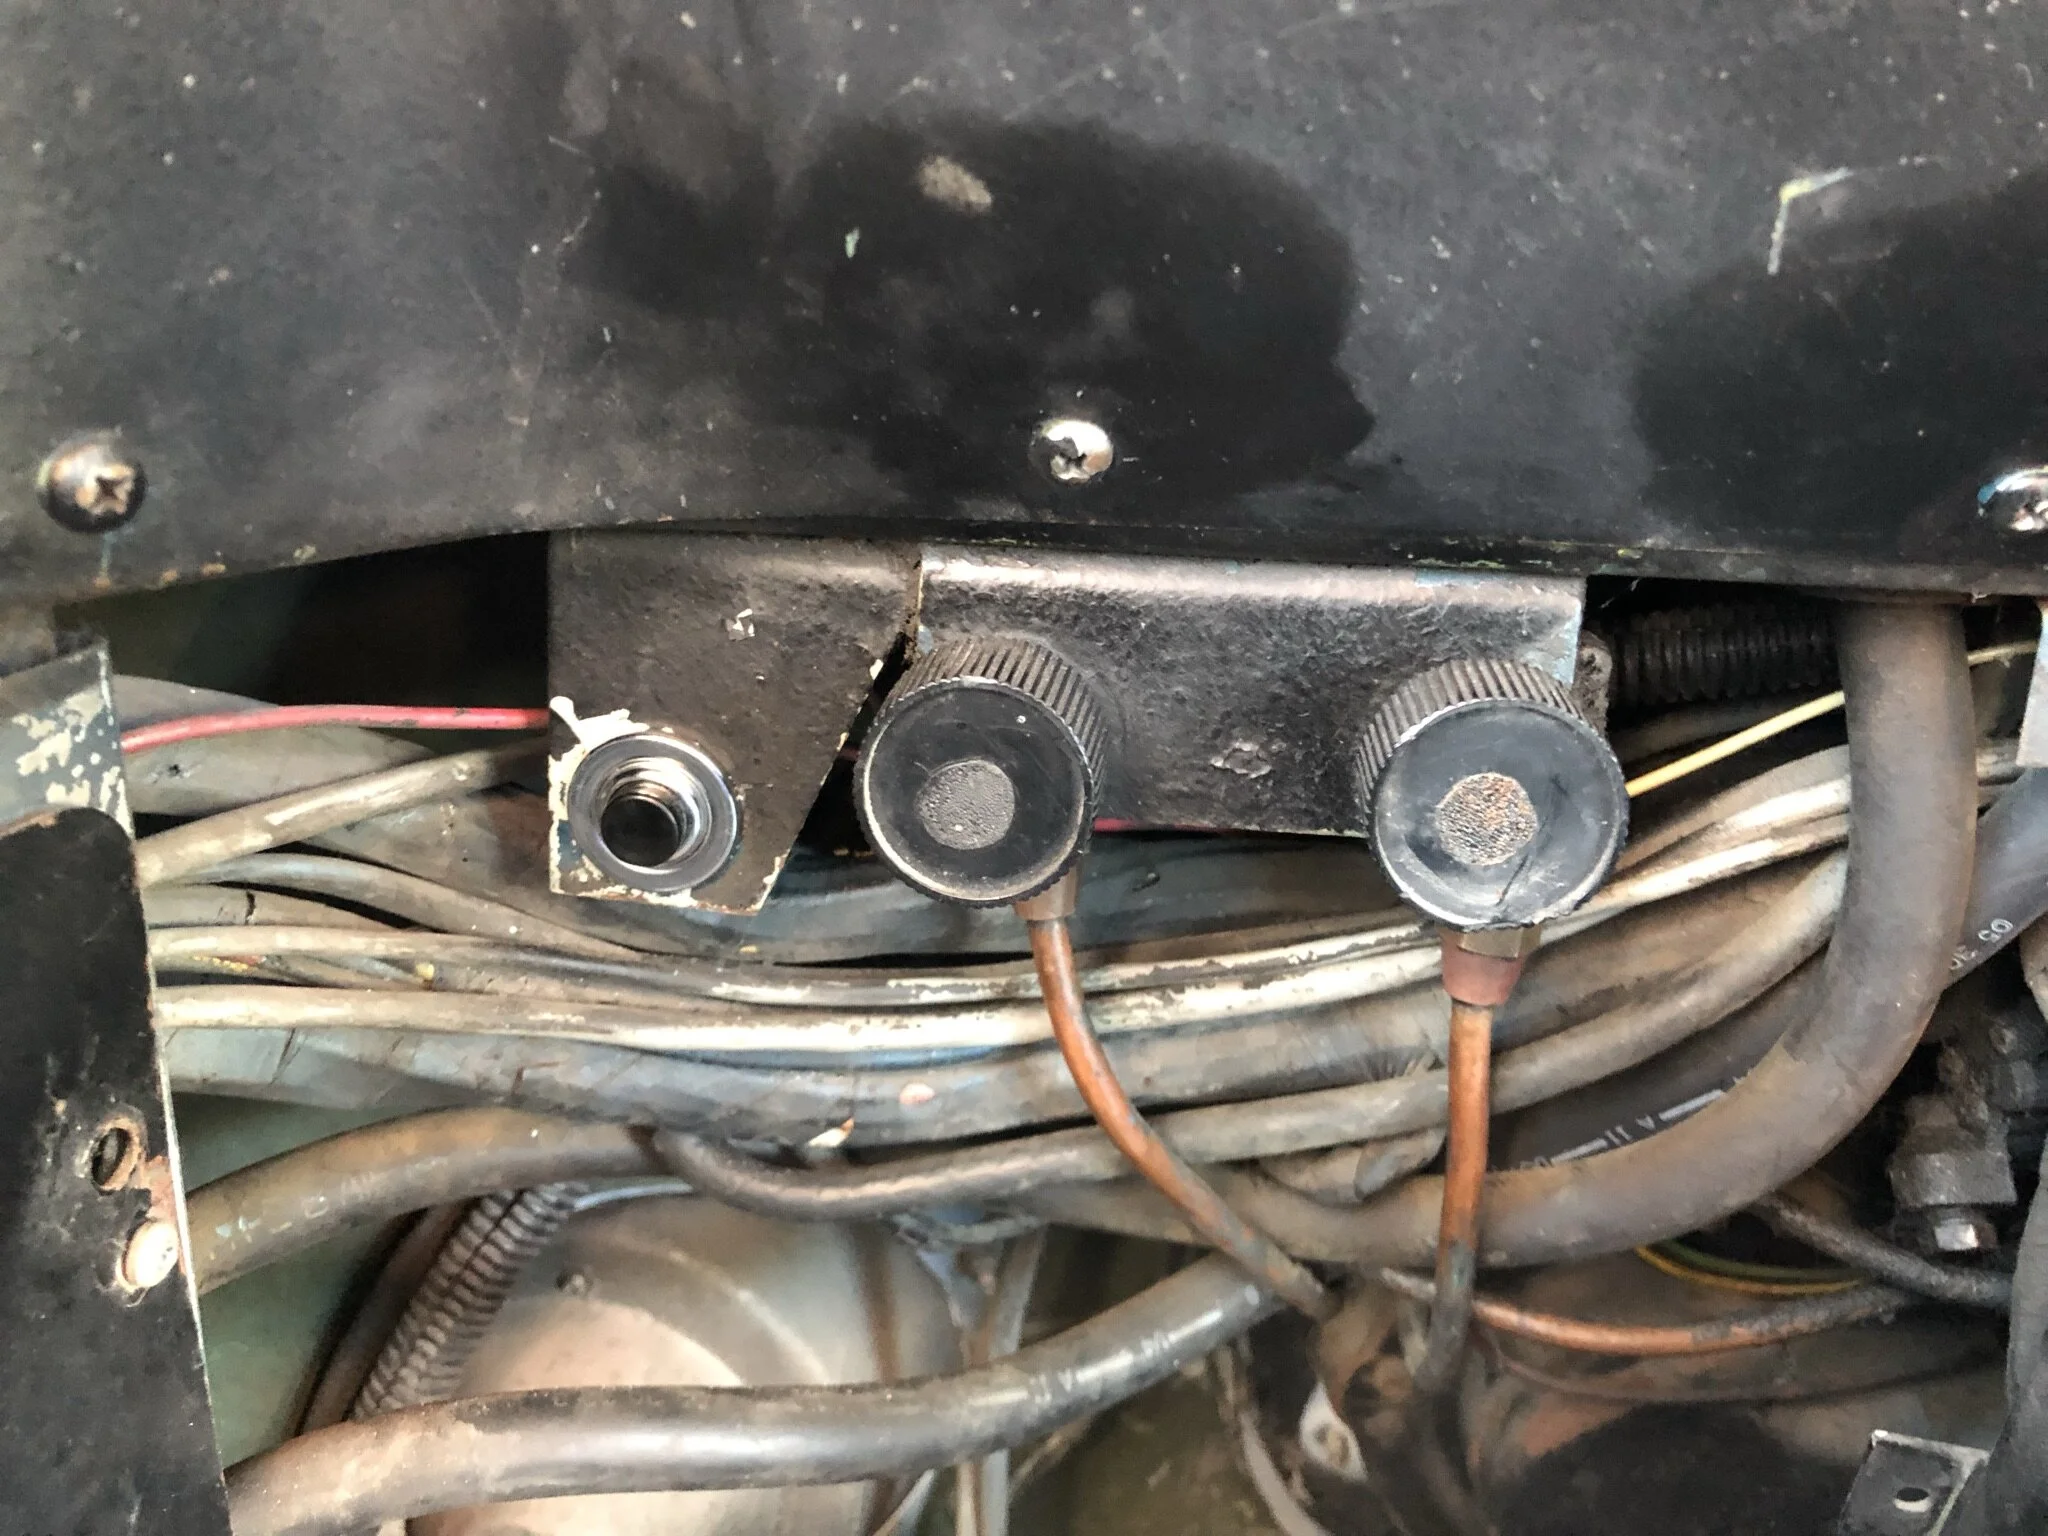
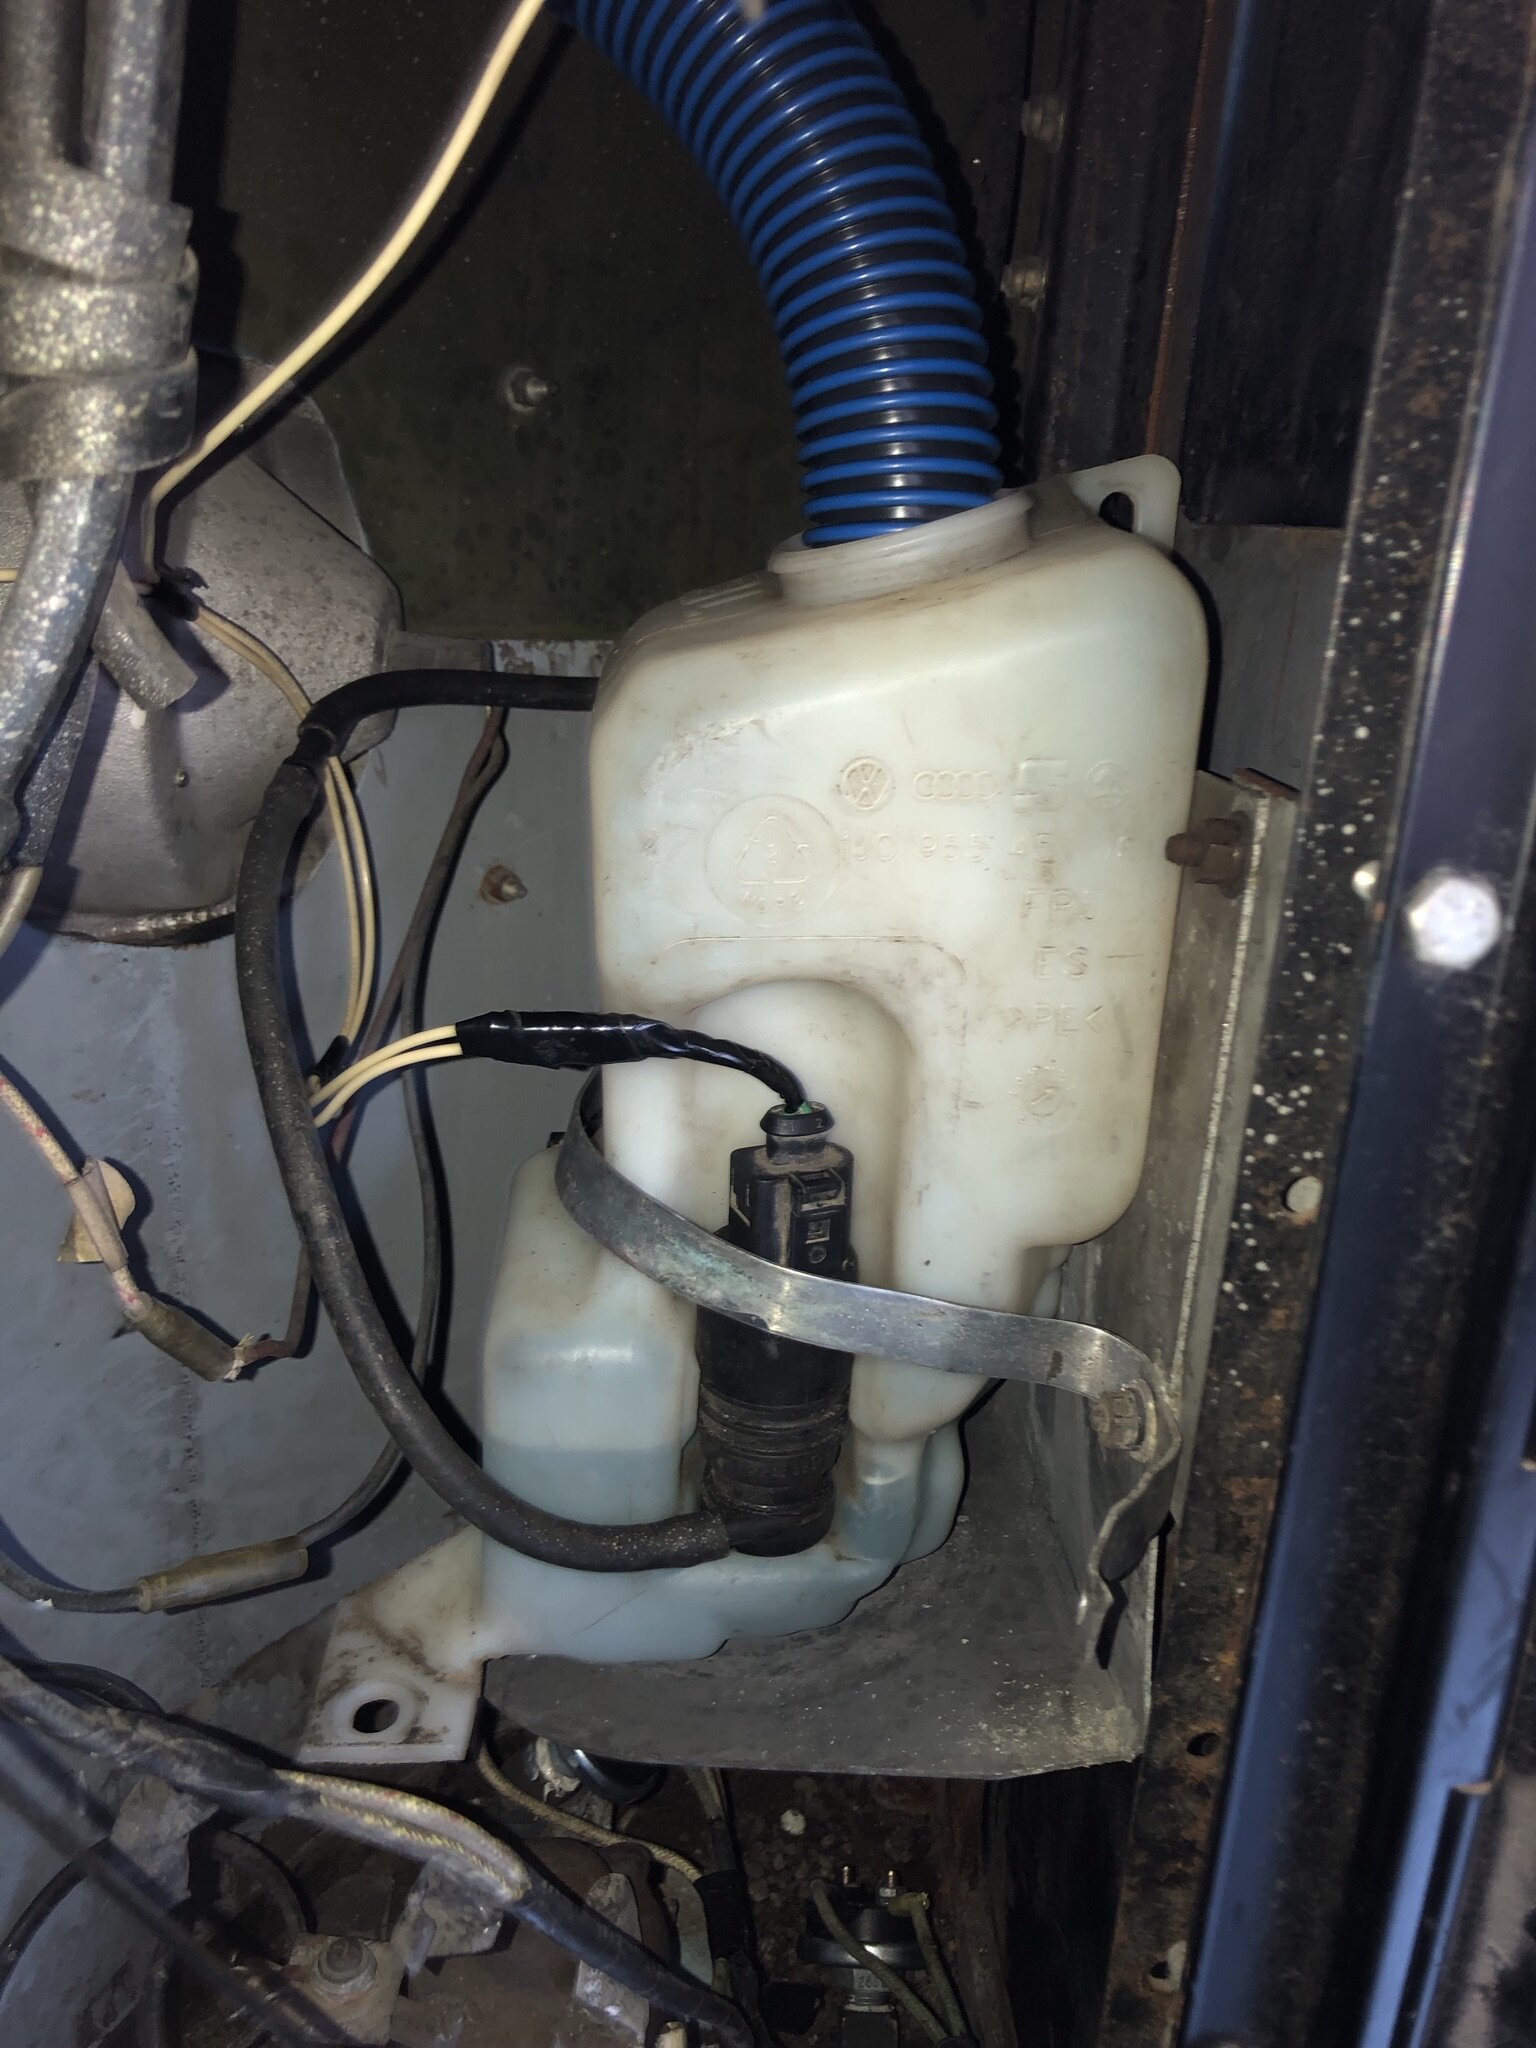
New electric windshield washer button and reservoir/motor assembly installed in 1130. Photos by Nick Blonski